blogdown
blogdown: Creating Websites with R Markdown
“A well-designed and maintained website can be extremely helpful for other people to know you, and you do not need to wait for suitable chances at conferences or other occasions to introduce yourself in person to other people. On the other hand, a website is also highly useful for yourself to keep track of what you have done and thought. Sometimes you may go back to a certain old post of yours to relearn the tricks or methods you once mastered in the past but have forgotten.” Yihui Xieblogdown: Creating Websites with R Markdown
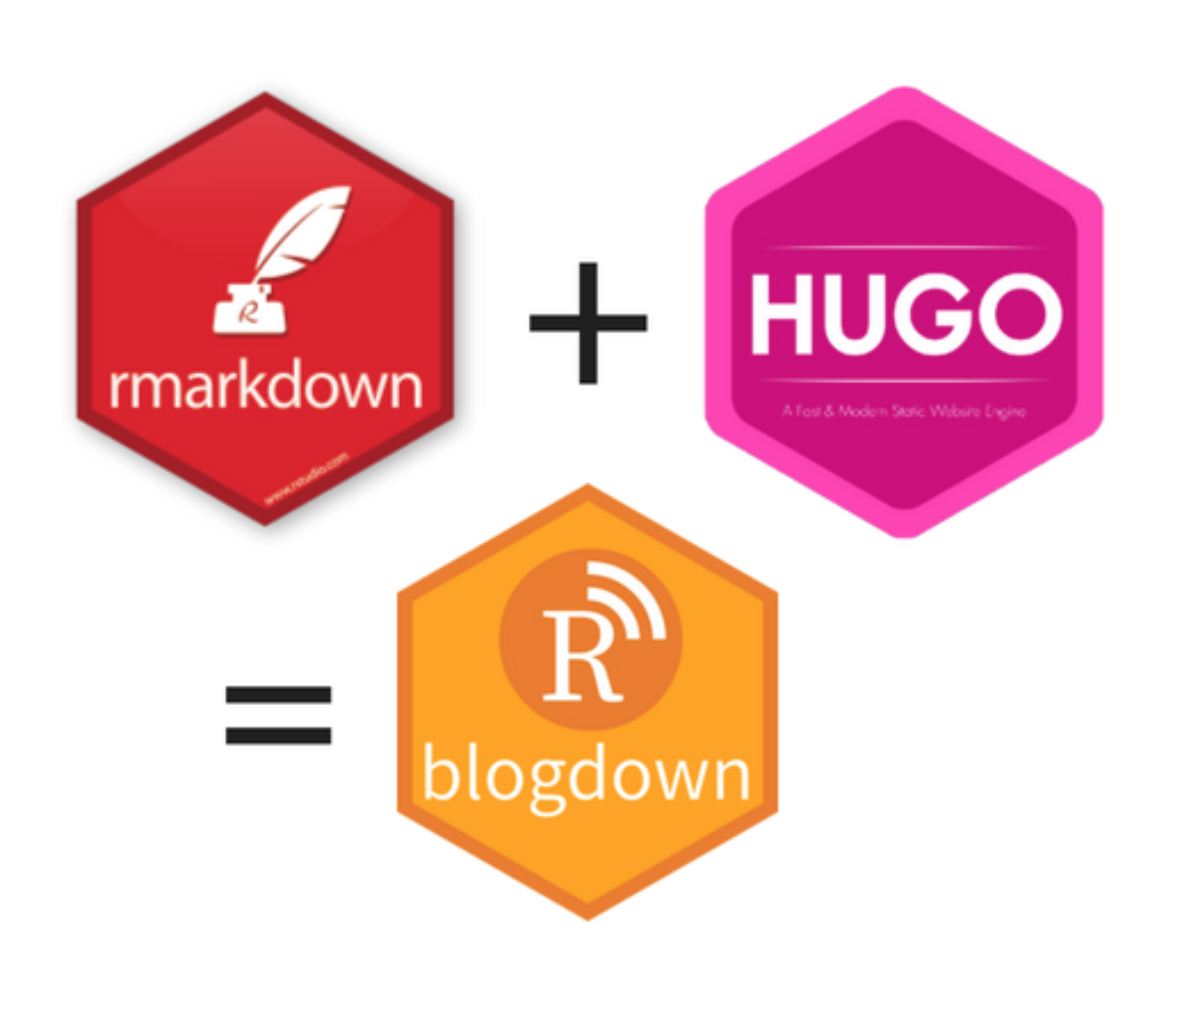
In this section you will learn how to crate static websites using the blogdown package in R that allows you to create websites from R Markdown files using HUGO, an open-source static site generator written in Go.
What is blogdown?
From Yihui: https://slides.yihui.name/2017-rmarkdown-UNL-Yihui-Xie.html#35.
-
(relatively) simple syntax for writing documents
the simpler, the more portable (multiple output formats)
not only convenient (maintenance), but also reproducible
most features of R Markdown and bookdown (technical writing)!!
-
free, open-source, and easy to install (a single binary)
lightning fast (generates one page in one millisecond)
general-purpose (not only for blogs)


Why not WordPress, Tumblr, Medium.com, Blogger.com, etc?
From Yihui: https://slides.yihui.name/2017-rmarkdown-UNL-Yihui-Xie.html#36.
No R Markdown support (even math support is often nonexistent or awkward)
Huge benefits of static websites compared to dynamic websites
all static files, no PHP or databases, no login/password, work everywhere (even offline)
typically fast to visit (no computation needed on the server side), and easy to speed up via CDN
Build your website
We will do it step by step. Let us start by setting a GitHub repo for our website project.
Prep with GitHub
We are already familiar with GitHub basics, which you can find from Happy Git with R to connect RStudio with your GitHub account.
We are going to assume you are already familiar with and have done:
☑️ Capter 5: Register a GitHub account
☑️ Chapter 6: Install or upgrade R and RStudio
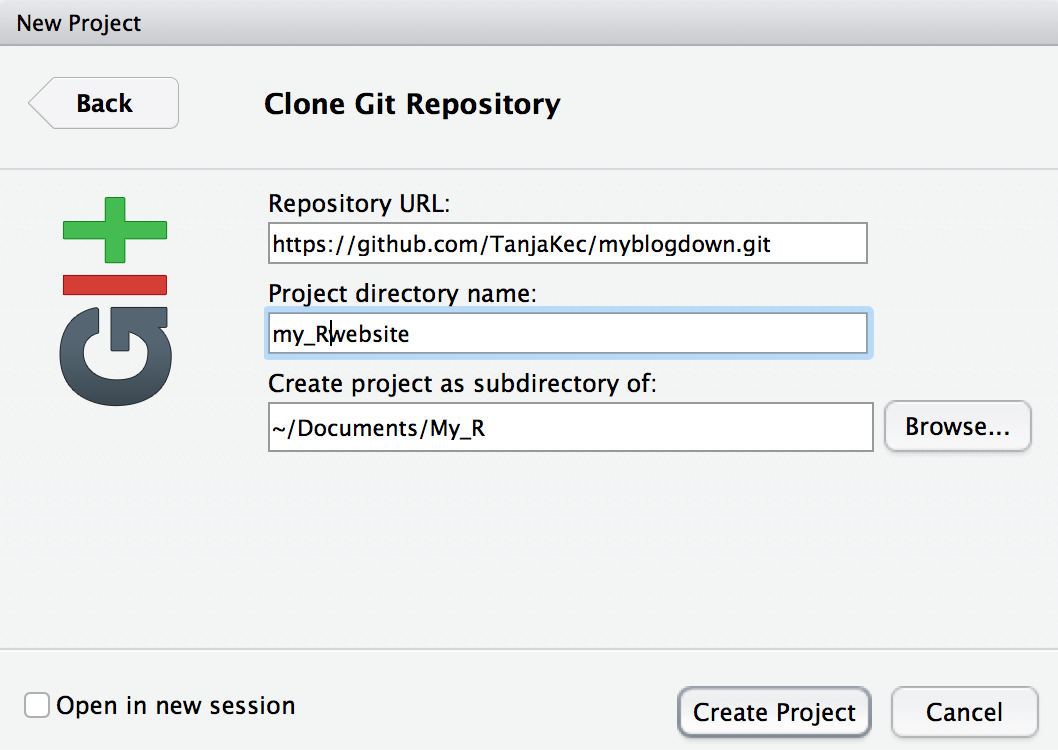
- Go to your GitHub account and create a new repository
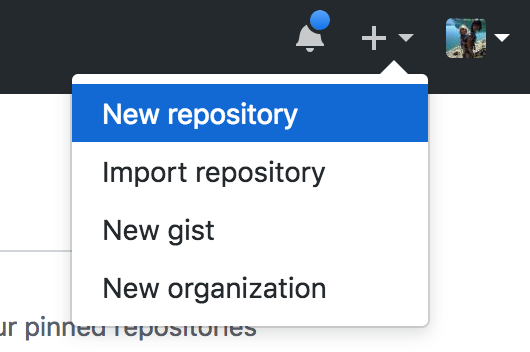
Give it a meaningful name

Copy repo’s HTTPS address

In RStudio
Open a new project in RStudio: File ➡️ New Project…
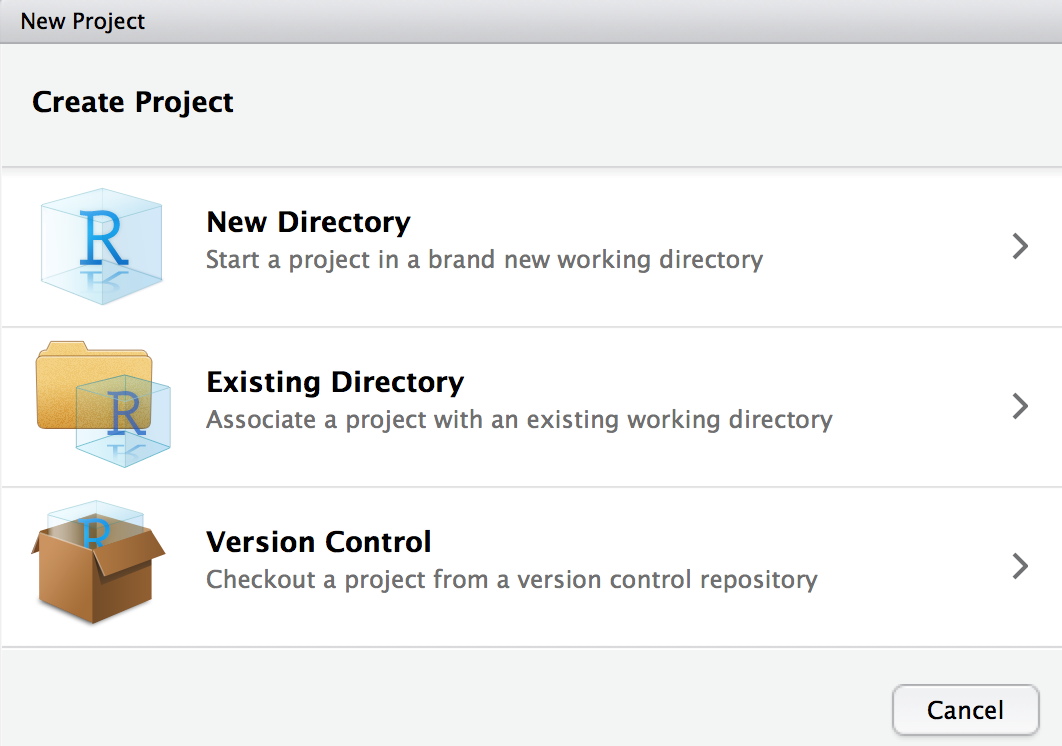
Select Version Control ➡️ Git

Paste the address of your Git repo
Install the packages
- Install blogdown
install.packages("blogdown")
- Install Hugo using blogdown
blogdown::install_hugo()
💡! If you already have those packages installed, you can check to update your Hugo package
blogdown::hugo_version() # check version
blogdown::update_hugo() # force an update
💡! If you are having trouble installing the package try:
install.packages("blogdown", repos = "http://cran.us.r-project.org") 🤞
Build a website
We’ll adopt a simple is beautiful approach and start building a website using a default theme.
blogdown::new_site()
💡! To use a different theme (for example: hugo-academic):
blogdown::new_site(theme = "gcushen/hugo-academic", theme_example = TRUE)
To see the current Hugo themes go to https://themes.gohugo.io/.
Let the knowledge and familiarity with blogdown and Hugo grow first.🧐 Once you get familiar with blogdown and Hugo you can always switch to a different theme. 💇 https://bookdown.org/yihui/blogdown/other-themes.html
Structure of a HUGO site
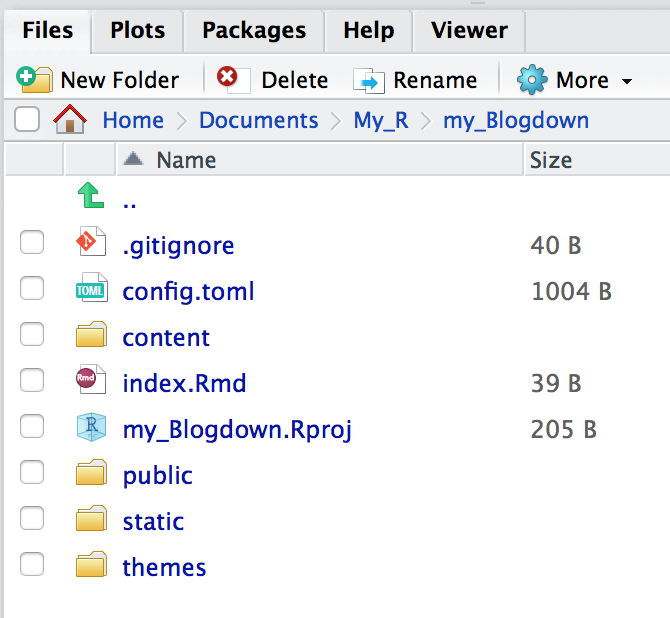

https://gohugo.io/getting-started/directory-structure/
Serve site
- In the console type:
blogdown::serve_site()
or, from Addins menu select servesite

Don’t try to view your site in your teeny RStudio viewer, instead click on Show in new window.

Notation we will adopt
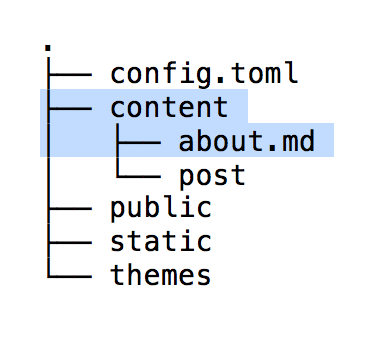
- Trailing slash will indicate a directory name, e.g.
content/means we are referring to a directory called content, not to a file named content.

- Leading slash will indicate the root directory of your project website, e.g.
/content/about.mdmeans we are refering toabout.mdfile which is under the root directory of the website project.
Building a website Step by Step
👉 Go to the following GitHub repo to download the material: https://github.com/TanjaKec/BlogdownWS
From here on we will follow the steps given in Xaringan presentation available from 👉 here
Happy Blogging! 📢
© 2020 Sister Analyst